How Can We Help?
Sending Tax Payer Remote Signature
Here’s an interactive tutorial
Tax Payer Remote Signature
Requirements before sending RemoteSign request to Taxpayer:
ERO Signature must be set up (click here for setup instructions)
Paid Preparer Signature must be set up (click here for setup instructions)
Step 1: Prompt For Tax Return PDF must be checked in Setup, Printer Setup.
Step 2: Signature Block must be set to Never in Print Options Tab under Setup, Printer Setup
How to send request for RemoteSign to Taxpayer/Spouse
Once the return has verified successfully, you can send a RemoteSign Request.
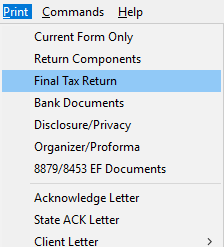
- From the opened return, click on the word “Print” at the top.Select Final Tax Return.
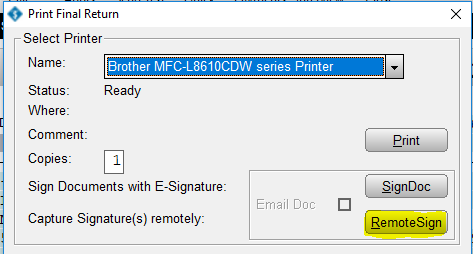
- From the Print Window, click RemoteSign.
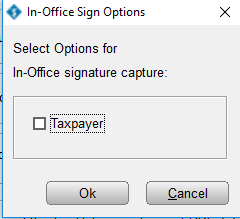
- Answer the in office signature question. ( If no one is in the office to sign click OK without checking any box.)
- Choose where to send the request for RemoteSign (depending on what you enter in the Client Data you can select Cell Phone or Email forth both the Tax Payer and Spouse if one is entered in the return)
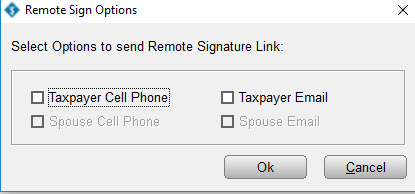
- Within 30 seconds the taxpayer/spouse should have the request to RemoteSign
How does a taxpayer/spouse sign on smartphone?
- The taxpayer/spouse will receive a link in a text message. Click the link in the text message
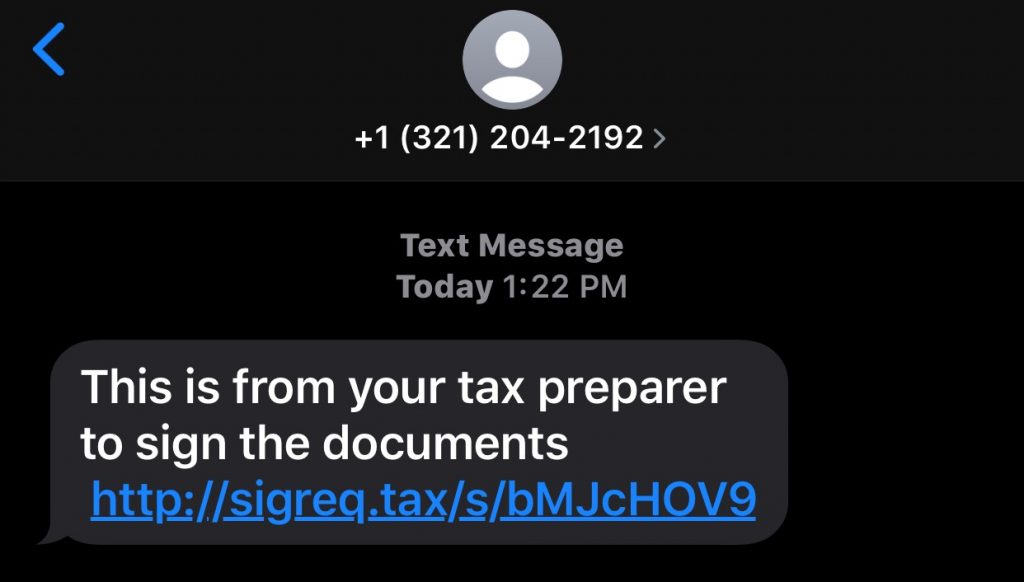
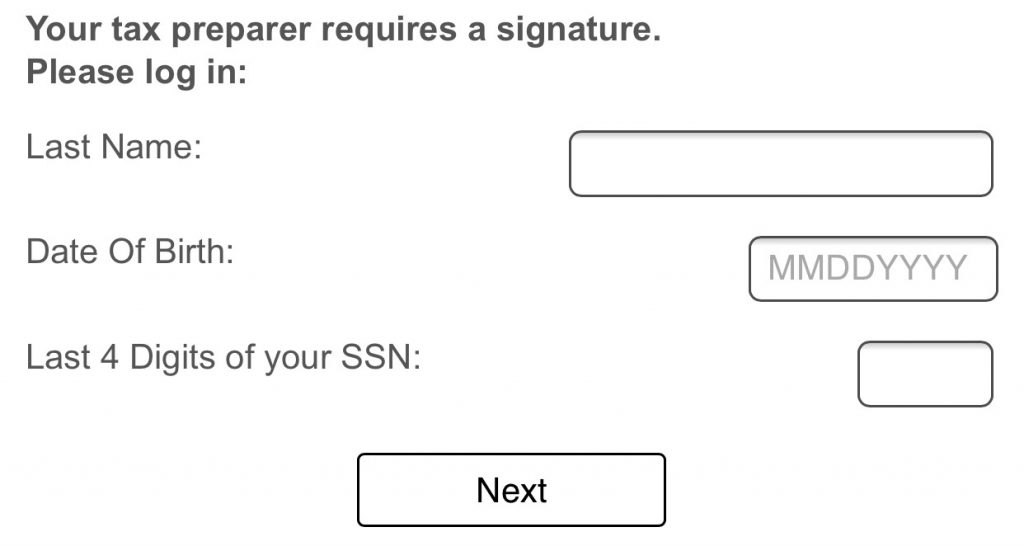
- Enter Verification Information, ( Last Name, Date of Birth and Last 4 of their SSN) (Make sure the information matches that on the return) Click Next
- On the next prompt click OK.
- Review the Document and answer the question “Is the document accurate to the best of your knowledge?” Click YES.
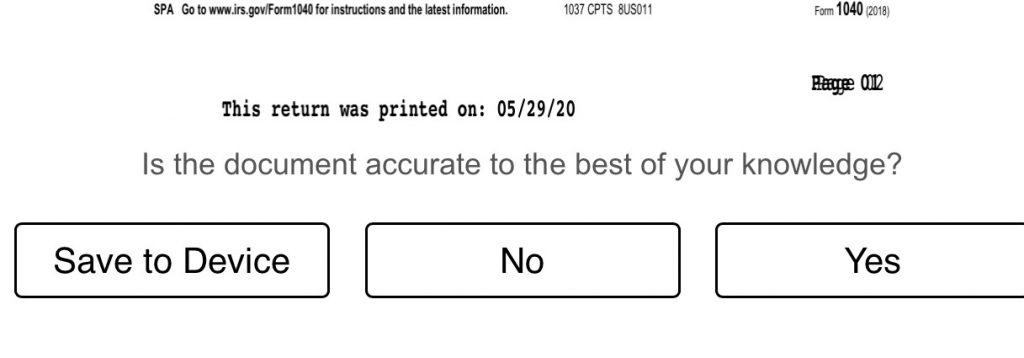
- Turn your device sideways
- Sign with your finger or stylus and click Submit.
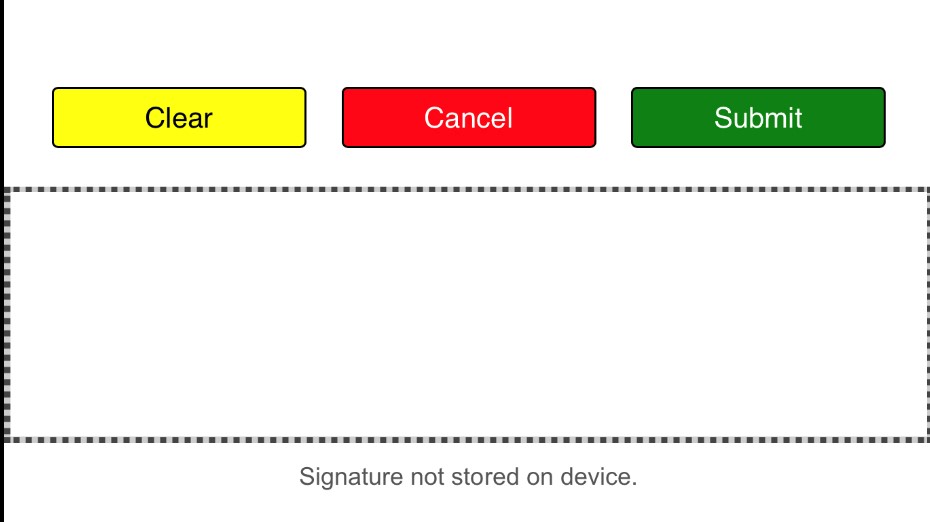
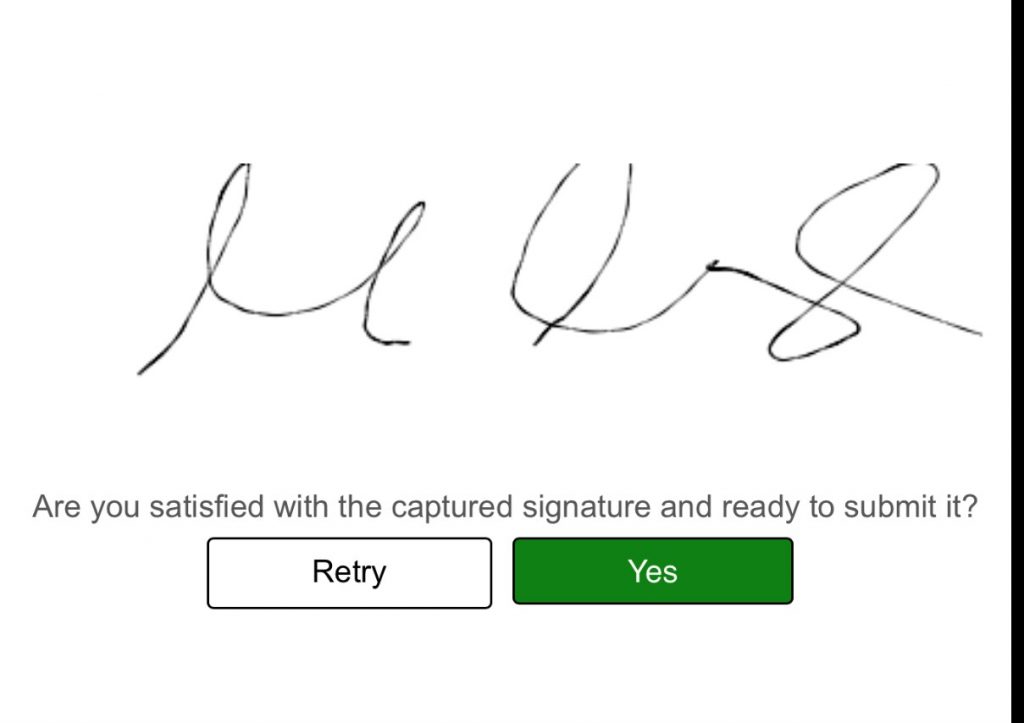
- Review signature and click Yes
- Close the Window
Note: Within 30 seconds the taxpayer/spouse signature should show up in the Document Archive of the tax return.
How does a taxpayer/spouse sign via email?
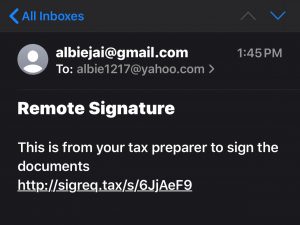
- The taxpayer/spouse will receive a link in an email message. Click the link.
- Enter Verification Information, ( Last Name, Date of Birth and Last 4 of their SSN) (Make sure the information matches that on the return) click Next.

- On the next prompt click OK.
- Review the Document and answer the question “Is the document accurate to the best of your knowledge?” Click YES.

- Turn your device sideways
- Sign with your mouse or (If your computer is touch-screen enabled) your finger/stylus and click Submit

- Review signature and click Yes

- Close the Window
Within 30 seconds the taxpayer/spouse signature should show up in the Document Archive of the tax return.
